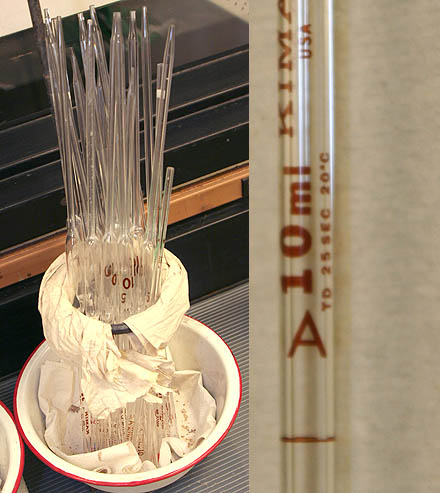
Pipettes are stored on the same table as the Unknown solutions. They are stored upside down to facilitate draining.
Volumetric pipettes have only one mark. That's the line that marks the printed volume. Some pipettes have several marks and are called "graduated pipettes". They aren't as accurate as the volumetric types.
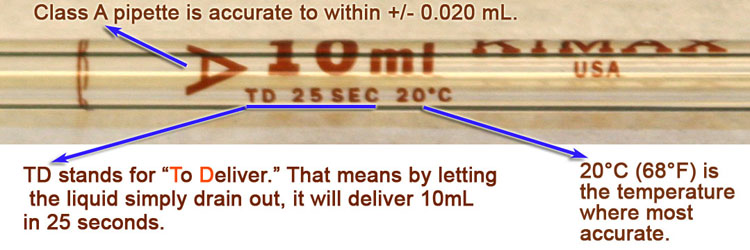
If you look close at the printed label, you will get more information. See below image for details.
You will now use the 10 mL pipette to add 10 mL of the unknown solution. Before you do that, you need to rinse out the pipette. See below for details.
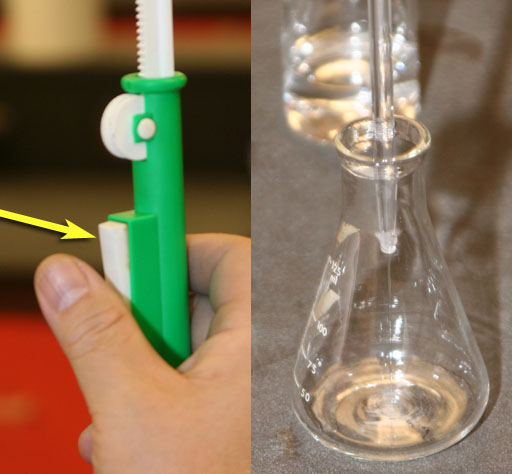
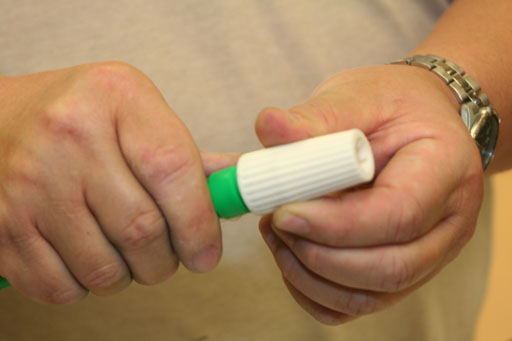
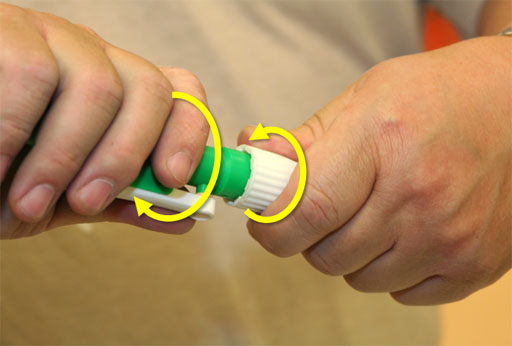
Before you can rinse out the 10 mL pipette, you need to attach it to the pipette pump.
Unscrew the white collar a few revolutions. This widens the internal compression ring so the pipette can go in without too much force.
If you have enough liquid, you should rinse out the 10 mL pipette using that liquid.
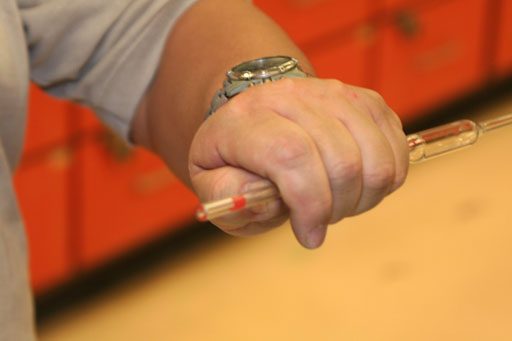
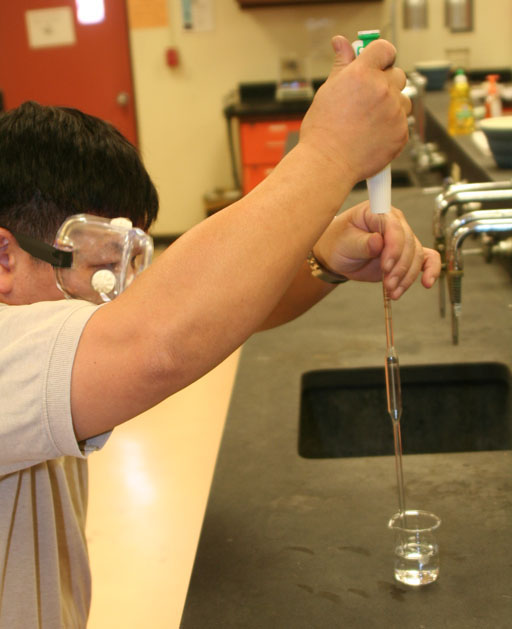
Set the tip into the beaker with the unknown liquid.
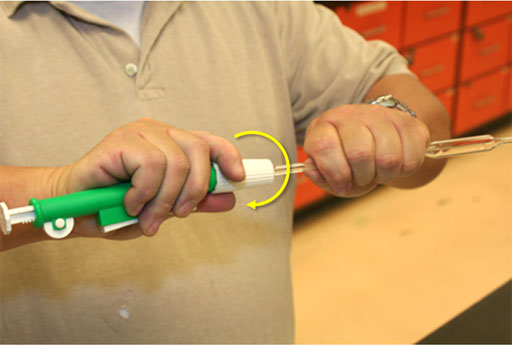
Turn the thumbwheel to draw up liquid (roll cursor over image to see use of thumbwheel).
Turn thumbwheel slowly to draw liquid up towards the top of the pipette (about 2 inches below the white collar of the pipette pump).
Again, if you have enough lquid, you can discard this liquid because it is just being used to rinse out the pipette. See the the below image on how to cause the liquid to drain out.
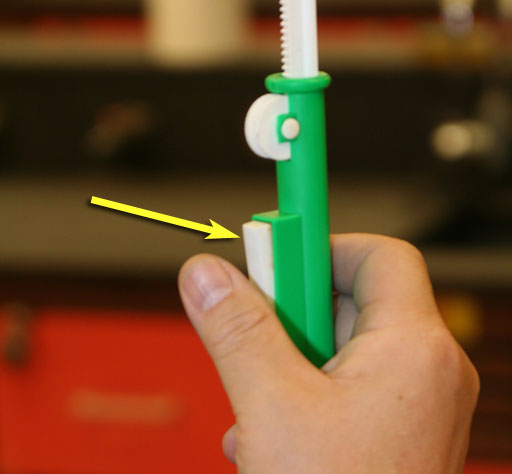
On the side of the pipette pump is the white fast-release lever. Press this when you want to let the liquid flow out of the pipette.
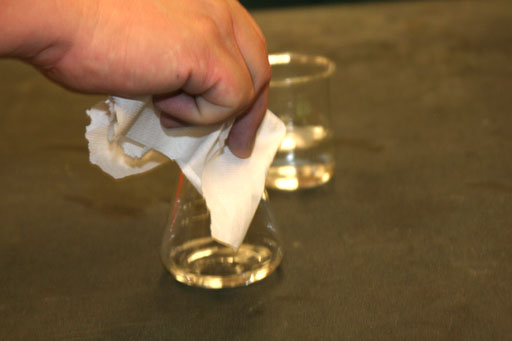
If the liquid you drew up first is only for rinsing out the pipette, push the fast-release lever to let the liquid drain into the waste beaker.
If you do not have enough liquid, then drain the pipette into the flask that you already weighed.
Draw up the liquid and bring the level about and inch or two above the 10 mL mark.
Raise the pipette so that its tip is above the surface of the unknown liquid. That's because when the tip is below the surface, the liquid's pressure pushes liquid upwards filling the pipette above the 10mL mark.
Push the release lever to bring the meniscus (bottom of curved surface) of the liquid to be level with the 10 mL mark. Your eyes need to be level with the mark. See below image for a better view.
Press the white fast-release lever to allow the 10 mL to drain into the flask.
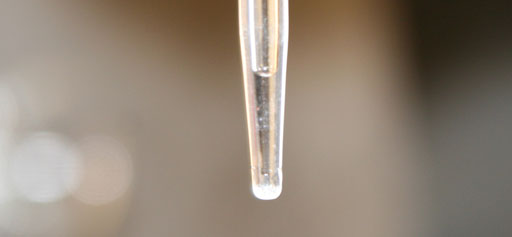
When the liquid stops draining, there will often be a drop of liquid clinging to the tip of the pipette. Simply touch it to the inside of the flask and it will come off.