
Oxygen makes up nearly half of the Earth's crust mass and 86% of the mass of the Ocean. That alone makes it a very important element. Then we add the fact that we need it to breathe, and we see the importance of oxygen.
On Earth the production of oxygen gas (also called elemental oxygen) comes from photosynthesis carried out by plants and algae. In this experiment, we will prepare it by using a decomposition reaction.
3. Create magnesium oxide and check whether acids or bases are formed.
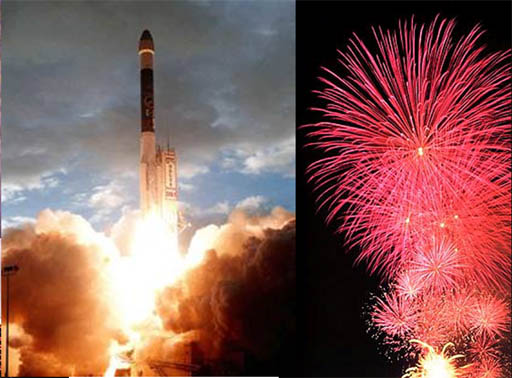
When you have a way to produce pure oxygen (O2), there are a lot of possibilities. The first one to come to mind is to increase the rate of combustion. That is why potassium chlorate (KClO3) is used an an oxygen source in rockets and in fireworks. Potassium perchlorate (KClO4) is also used.
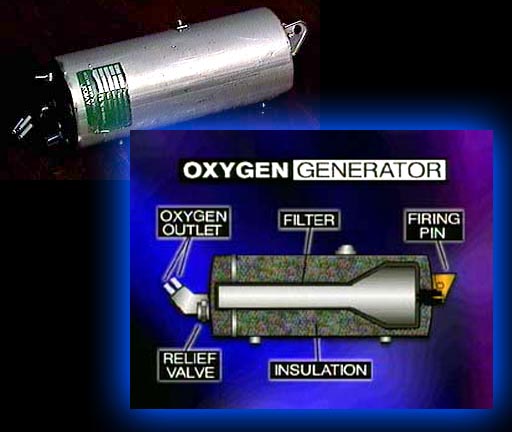
Most everyone is familiar with the oxygen masks that drop from the ceiling of an airplane during an emergency from losing air pressure. The oxygen that feeds the masks comes from metal canisters that are about 10 inches long and 3 inches in diameter. Each canister provides oxygen to 2 or 3 seats. The canisters are filled with a mixture of sodium chlorate (NaClO3), barium peroxide (BaO2), and potassium perchlorate (KClO4). Chlorate (ClO3-) and perchlorate (ClO4-) can easily decompose to create pure oxygen. Barium peroxide (BaO2), like many other peroxides, will also decompose to create pure oxygen. Peroxides are compounds where two oxygens are bonded together. Note that in ClO3- and ClO4- the oxygen atoms are bonded to the chlorine atom and not to each other.
The decomposition of these 3 oxidizers is initiated by a blasting cap that is fired when you pull down on the oxygen mask. At that point, NaClO3 decomposes to form sodium chloride (NaCl) and O2. BaO2 creates BaO and O2, and KClO4 produces potassium chloride (KCl) and O2.
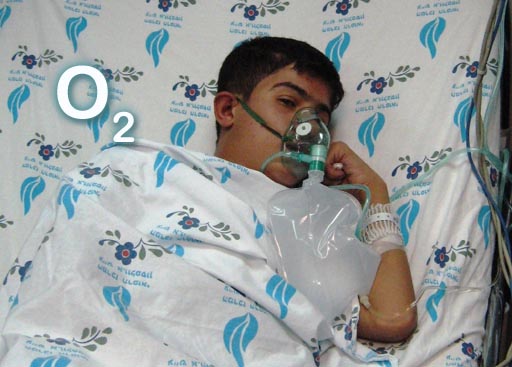
When a person has lung problems, breathing concentrated oxygen helps in the transfer of oxygen to the blood. The oxygen used for medical purposes does not come from a decomposition of oxidizes like NaClO3 above, but comes from oxygen that gets filtered from the air in the room.
The device that filters out nitrogen from the air and therefore makes the concentration of oxygen higher is called an oxygen concentrator (see below).
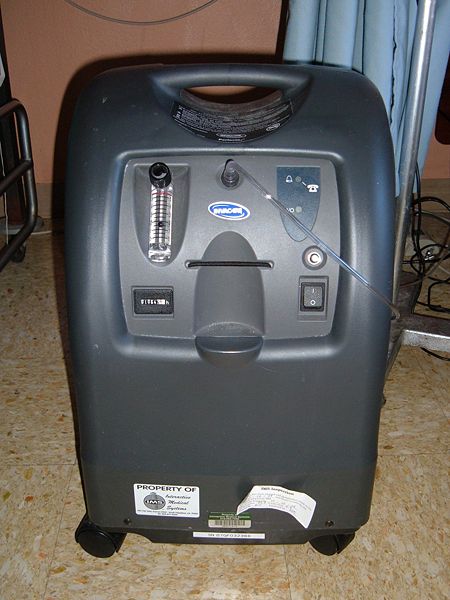
An oxygen concentrator is used to concentrate the oxygen for the purpose of breathing. The machine pumps in air, which is 20% oxygen and 80% nitrogen but puts out air at 93% oxygen and 7% nitrogen. It does this because it has some porous material called zeolite which traps nitrogen molecules momentarily allowing oxygen to pass on through.
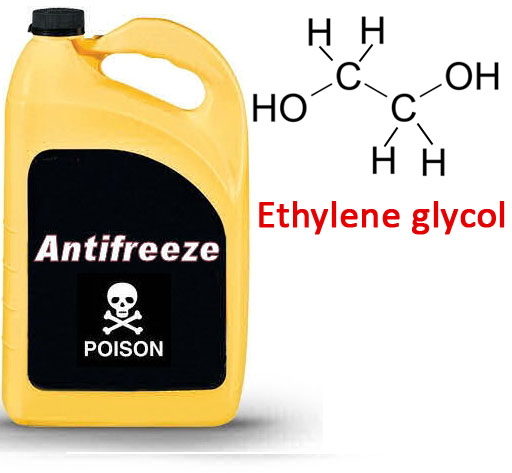
One quarter of pure oxygen generated for industrial purposes goes into converting ethylene gas (CH2=CH2) into ethylene glycol, which is the main ingredient in antifreeze. The ethylene glycol is further used as an ingredient to make a variety of plastics.
Ethylene gas is the most produced organic compound in the world. It comes from petroleum. Ethylene is also used to make polyethylene plastic plus many more products.
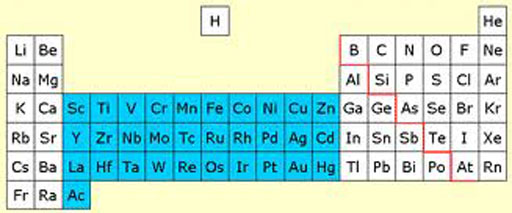
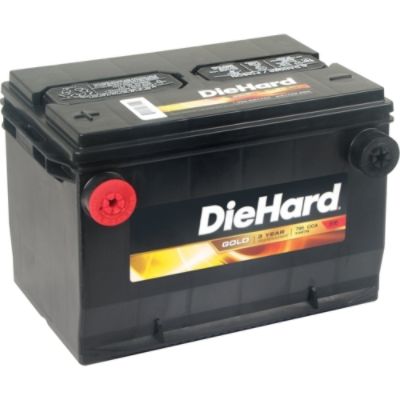
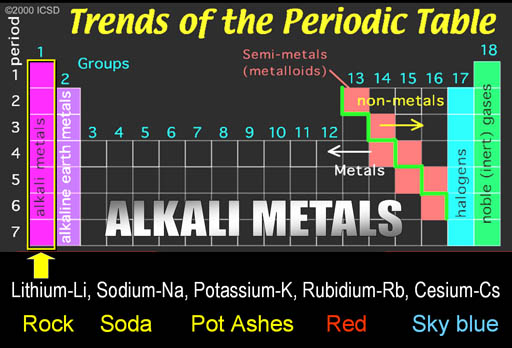
Catalysts: Metal Oxides of the transition metals (the center of the Periodic Table where elements are filling their d orbitals) are often used as catalysts. For example, sulfuric acid needed for our car batteries is made using vanadium(V) oxide. Vanadium is the third element from the left on the top row of the transition metals (blue background).
Metal Oxide Toughness: Some metal oxides are very tough (hard). For example, aluminum oxide (Al2O3) forms on the surface of aluminum, which blocks any more oxygen from getting to the aluminum. If it didn't block the oxygen, aluminum cans, foil, car parts, and airplane parts would turn to powder in a few hours or days.
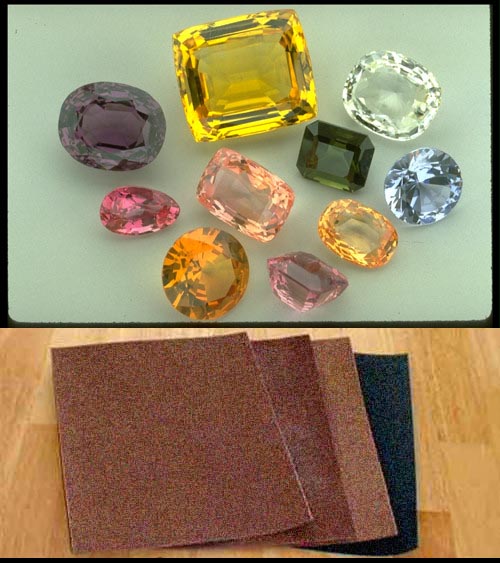
Aluminum oxide is the main ingredient in sapphires. It's the toughness that makes sapphires gemstones because they resist being scratched. Also, the hardness of aluminum oxide makes it good as high quality sand paper. Aluminum frying pans also get their toughness from the aluminum oxide coating.
Spacecrafts use titanium because it's light and also because titanium forms a tough layer of titanium oxide on its surface.
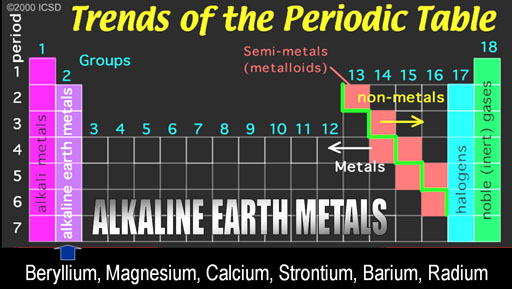
Metal Oxide Reaction with Water: Metal oxides from metals in the 1st and 2nd groups (the alkali metals and the alkaline earth metals) react with water to form metal hydroxides. For example, calcium oxide (CaO) and magnesium oxide are key ingredients in cement. This below reactions aid in the process of a cement hardening. The first step turns calcium oxide into calcium hydroxide. That reacts with CO2 in the air to make calcium carbonate plus water. Magnesium oxide reacts the same way.
CaO + H2O → Ca(OH)2
Ca(OH)2 + CO2 → CaCO3 + H2O
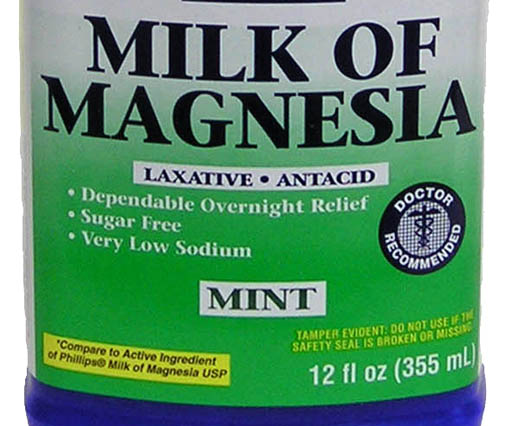
Because certain metal oxides form hydroxides when in contact with water, they are used as an antacid to fight stomach indigestion. Just like calcium oxide did above, magnesium oxide will turn into magnesium hydroxide. The hydroxide (OH-) will then neutralize the hydrochloric acid (HCl) in the stomach.
MgO + H2O → Mg(OH)2 → in excess water this is Mg2++2OH-.
Mg2+ + 2OH- + 2H+ + 2Cl- → MgCl2 + 2HOH
In these reactions, it's best to write H2O as HOH because you can see where the acid (hydrogen ions) came from.
Milk of magnesia is magnesium oxide that has been added to water to form magnesium hydroxide. It is used as a antacid and as a laxative.
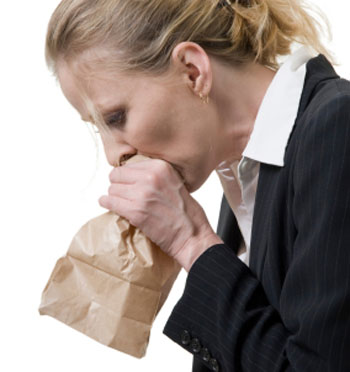
One non-metal oxide of this type that is very important is carbon dioxide. Your body uses carbon dioxide to keep the pH of your blood at its proper level. Carbon dioxide dissolved in water forms carbonic acid. So that increases the acidity level of the blood. So acidity of the blood can be affected by how much carbon dioxide is present. If you hyperventilate (breath too fast), you will be breathing out too much carbon dioxide, and your body will enter acute respiratory alkalosis (meaning the blood has become too alkaline). Some doctors have the person breath into a paper bag. The carbon dioxide they breath out is then brought back into their blood system to increase the acid level of the blood. Of course, if they do this too long, then they risk not having enough oxygen and getting too much carbon dioxide in their blood causing the just opposite condition of acute respiratory acidosis.
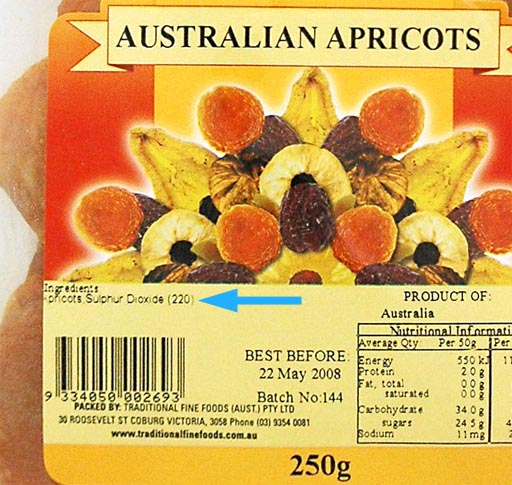
Another acid-forming non-metal oxide is sulfur dioxide, which creates sulfite ions when in contact with water. Sulfite is a preservative. If you opened the bag of apricots shown, the sulfur dioxide gas would escape and no longer be a preservative. However, there's some moisture in trail mix or even "dried" fruit. So the sulfur dioxide they list as an ingredient has actually reacted with water. Here's the reaction:
SO2 + H2O → H2SO3
The product is called sulfurous acid. Now you see why they don't want to label it as sulfurous acid, which sounds very close to sulfuric acid.
In water, the sulfurous acid breaks up into ions with one being sulfite. Sulfite is the preservative:
H2SO3 → 2H+ + SO32-
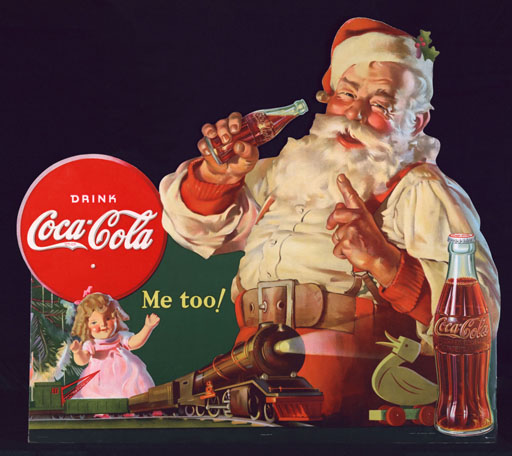
Another non-metal oxide that forms an acid is tetraphosphorus decoxide (tetra means 4 and deca means 10. The "a" in deca is dropped.). The below reaction shows what happens when this oxide reacts with water. It forms phosphoric acid. Most carbonated soft drinks have phosphoric acid because it gives them a more tangy flavor.
P4O10 + 6H2O → 4H3PO4

In the on-campus lab, oxygen is prepared from the decomposition of potassium chlorate, an oxidizer mentioned above. However, potassium chlorate can be dangerous and is hard to come by. Oxygen coming from potassium chlorate can ignite most anything, including gummy bears (shown), rubber stoppers, pencils, candy, even coins. Anything that can be burned will burn extremely fast and hot with potassium chlorate. This excess heat and the expansion of gases can cause explosions. So for your portable kit, we found a safer alternative, hydrogen peroxide. Actually, strong solutions of hydrogen peroxide are not safer, but weak solutions are.
The set up on the left is similar to the set up used in the on-campus lab. Potassium chlorate is added to a test-tube with a small amount of manganese dioxide acting as a catalyst. Glass tubing is used to direct the oxygen to an inverted jar sitting in a tub of water. The jar (which was filled with water) will trap the oxygen that is bubbles into the jar. Heat from a Bunsen burner is used to start the reaction.
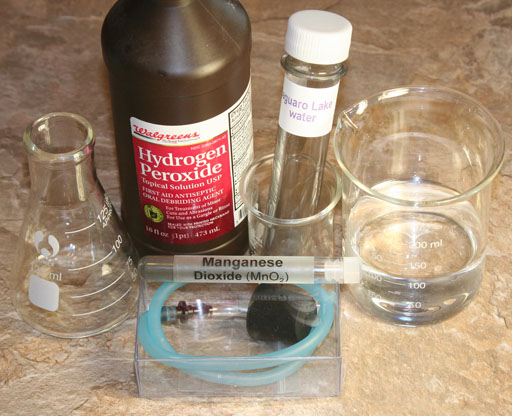
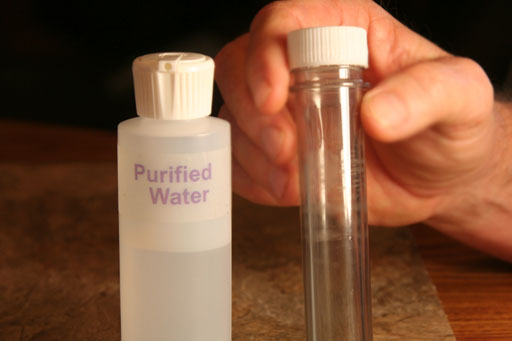
Here are the items that you will be using to generate and trap pure oxygen. You will need to purchase a bottle of hydrogen peroxide if you don't already have some. You only need about one tenth of a bottle. This is the topical (skin) use, which is 3% hydrogen peroxide (H2O2) in water. This is a weak solution of hydrogen peroxide.
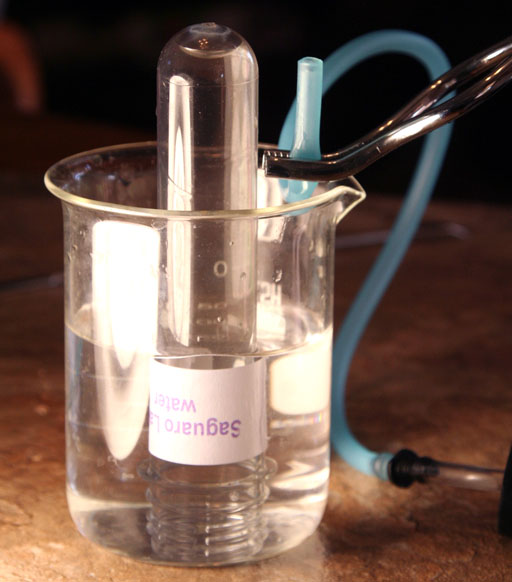
The large test tube labeled "Saguaro Lake water" was from an earlier lab. That should be empty at this point. That will be the container where you capture the oxygen.
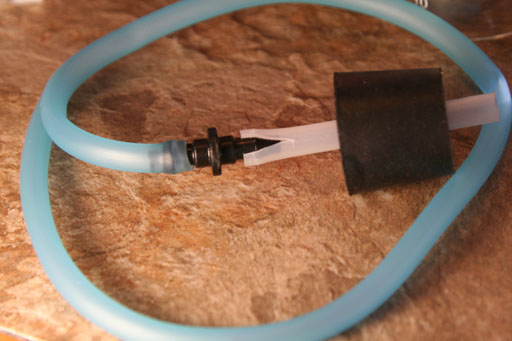
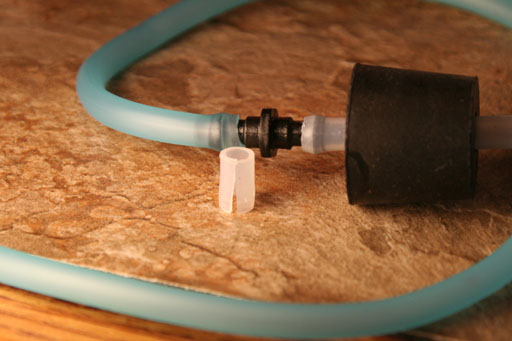
Find the clear plastic box that has the rubber stopper and blue tubing. You will also be using the manganese dioxide as the catalyst which triggers the decomposition of hydrogen peroxide.
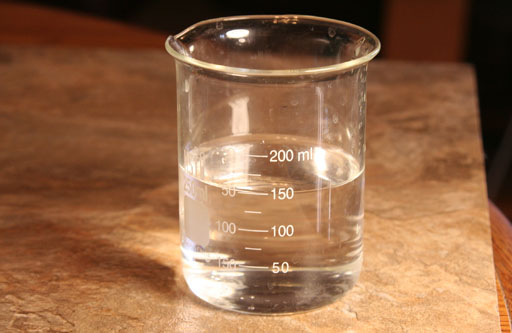
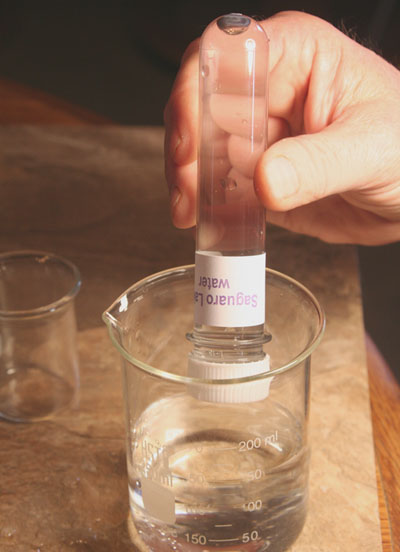
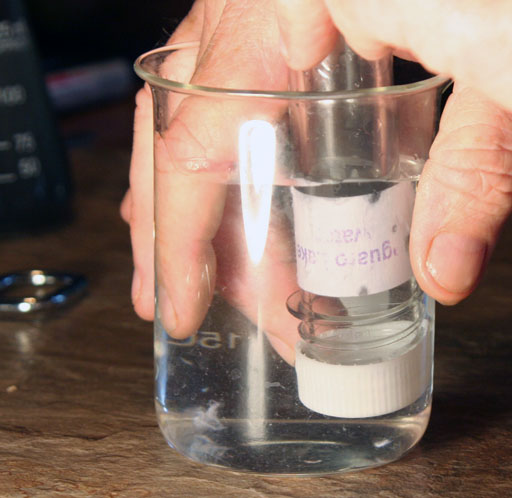
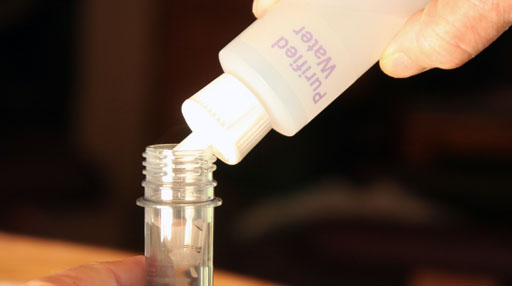
Fill the large plastic test tube right to the brim with tap water. Then put on the cap. Turn it upside down and there shouldn't be much of an air bubble in the test tube.
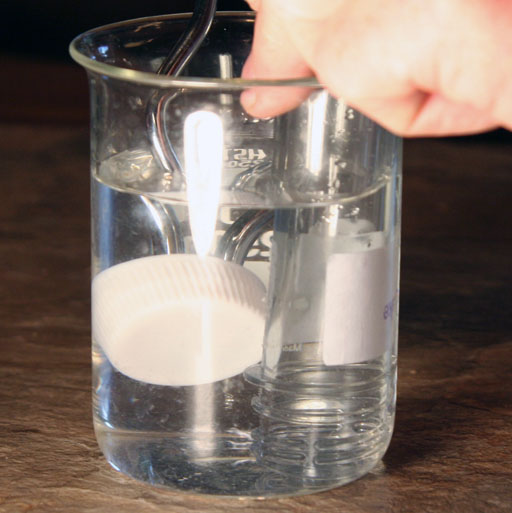
Lower the large test tube into the beaker of water. Make sure the cap is submerged.
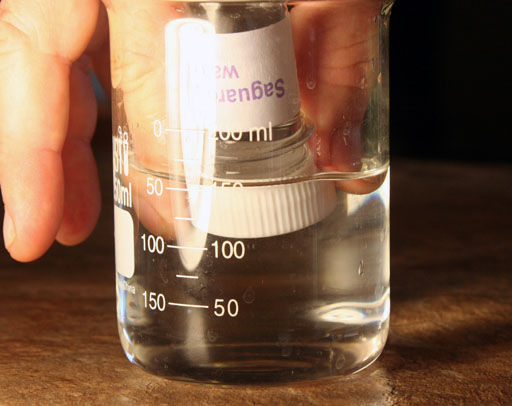
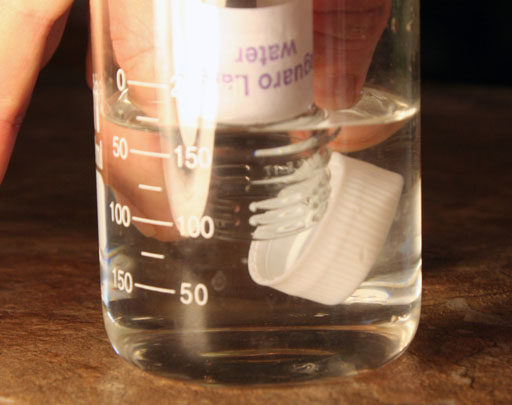
If you have the dexterity, you will get the cap off the test tube and the water will still be in the test tube. The cap will float to the surface. You can fish the cap out using your fingers of the metal tongs in the kit.
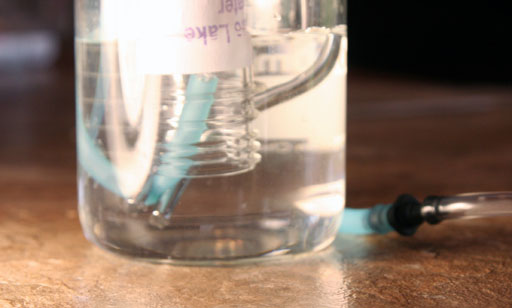
With some luck and skill, you should be able to get the tubing to go up inside of the bottom of the test tube.
Note: Chemistry is a hands-on science. Not only does it need mental skills, it also needs dexterity skills. That is why doing a virtual chemistry lab on the computer doesn't work. It can't replace the hands-on chemistry lab experience.
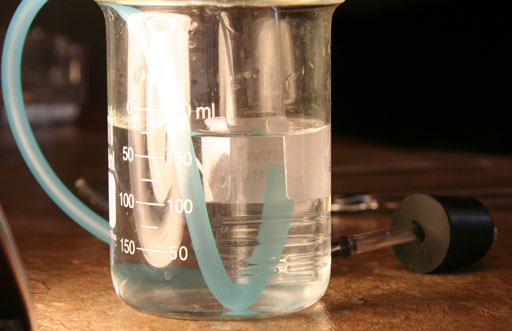
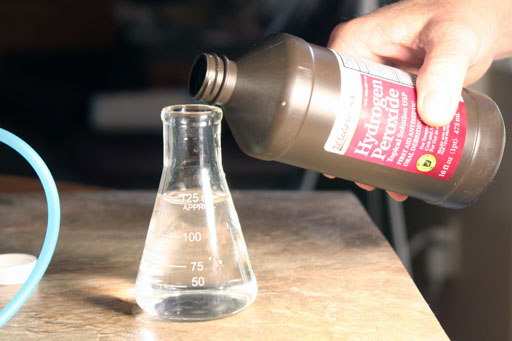
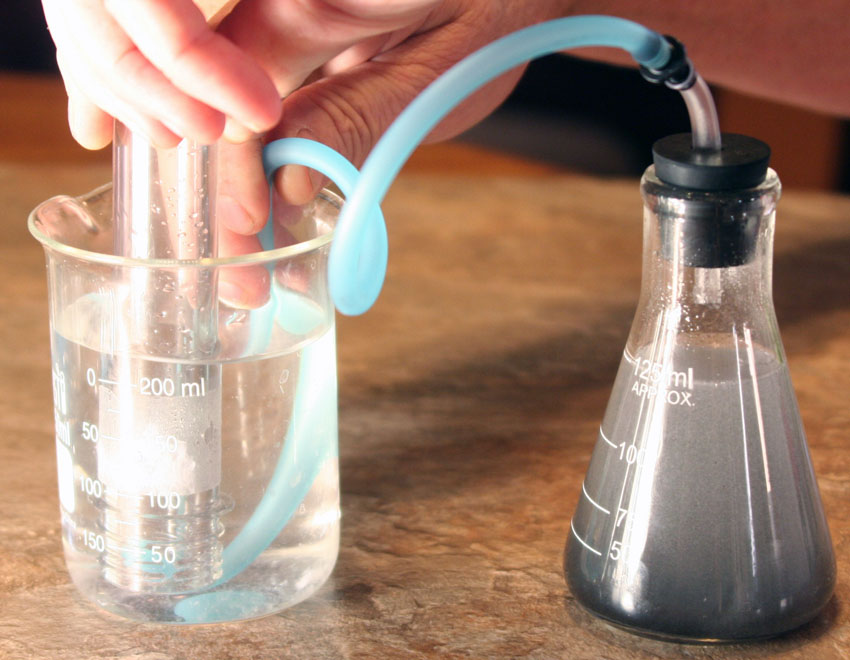
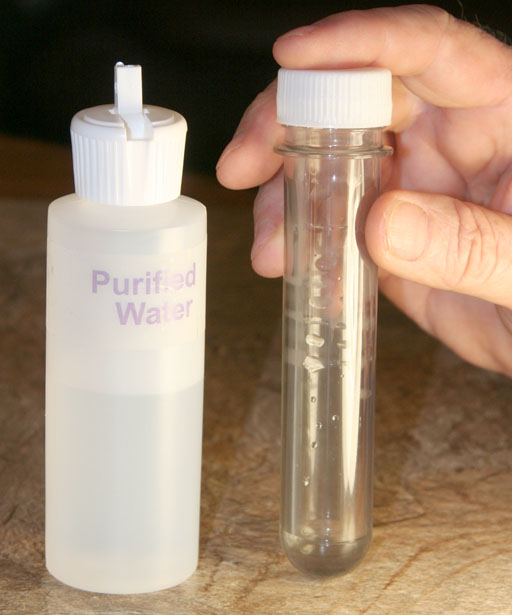
Now add 25 mL of hydrogen peroxide to the 100 mL of water to bring the level up to 125 mL.
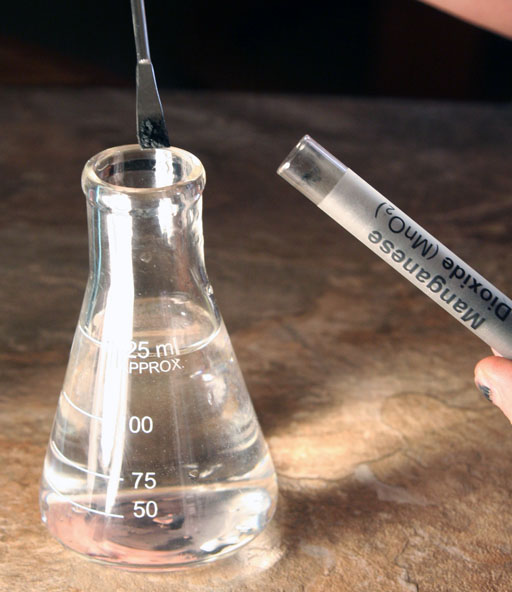
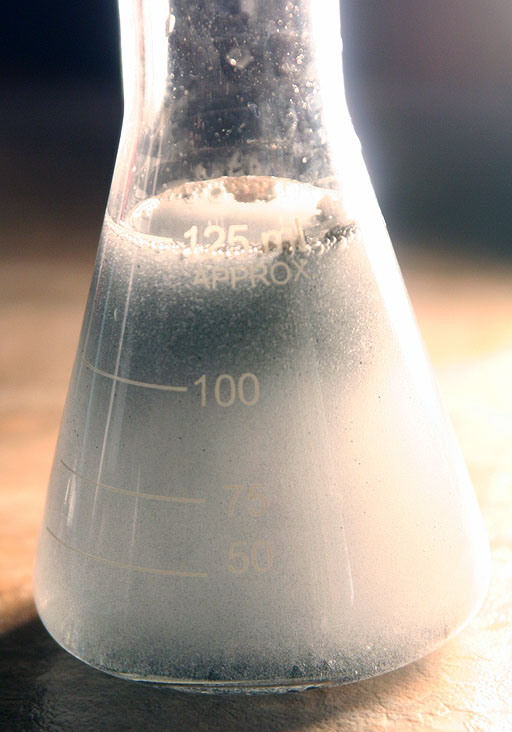
You should immediately see small bubbles form as the manganese dioxide mixes with the water and hydrogen peroxide. Some of the manganese dioxide powder will sink to the bottom and some will be carried up near the surface.
We don't won't to put the stopper on the flask just yet. There is about 25 mL of air (80% nitrogen & 20% oxygen) in the flask. The bubbles of oxygen that are forming will displace the air by pushing it out of the flask. Oxygen is a little more dense than air, so oxygen will stay closer to the surface of the water and push the air out of the flask. Wait about 2 minutes before placing the stopper onto the flask. That will give the newly created oxygen to push the most of the air out of the flask.
The manganese dioxide is a catalyst. That means it speeds up the decomposition reaction of H2O2 → H2O + O2.
Also, being a catalyst, manganese dioxide is not consumed or chemically altered during the reaction. So after the experiment is over, you could filter out the manganese dioxide and reuse it.
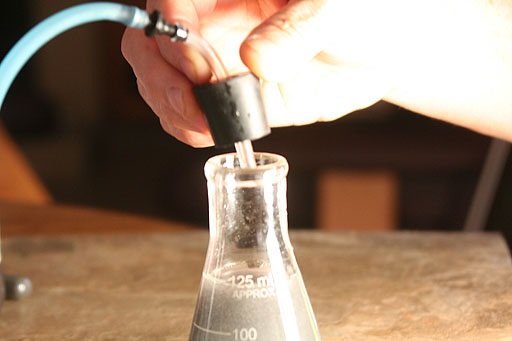
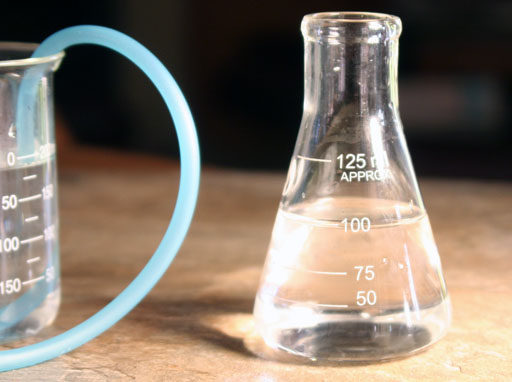
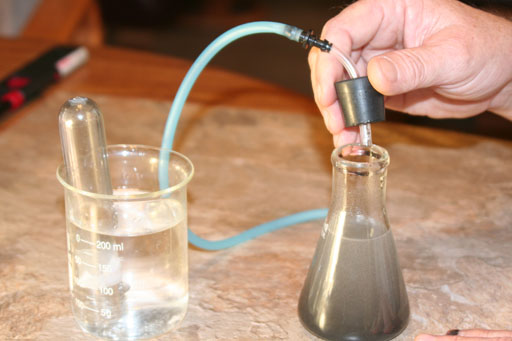
As mentioned above, 2 minutes after adding the manganese dioxide, place the stopper firmly on the Erlenmeyer flask.
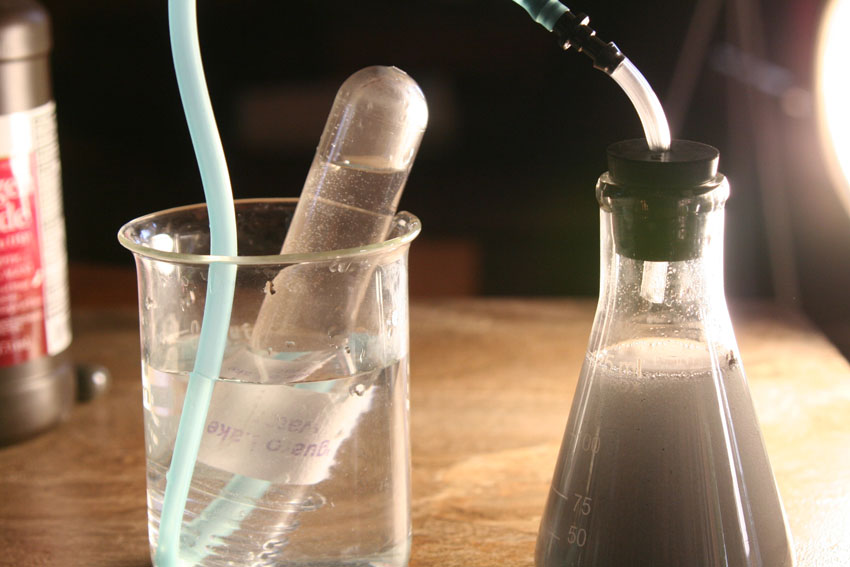
a1) Take a photo of your setup while it is producing oxygen.
After you pull out the blue tubing, you can then remove the rubber stopper from the flask.
In chemistry as in all crafts, you make it a habit to declutter your work area. At this point we want to put the cap back onto the test tube, so getting the flask, rubber stopper, and tubing out of the way will declutter your work area and keep you from knocking over the flask.
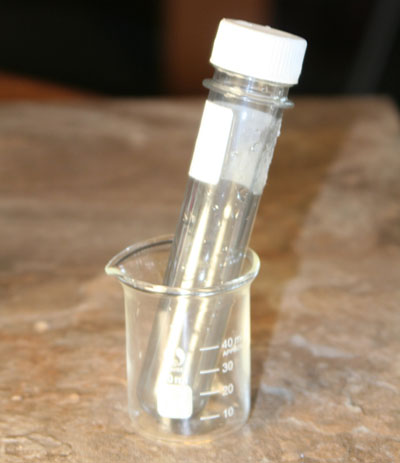
Stand up the test tube with the oxygen in it in the small beaker, or better yet pour out the water from the large beaker and use that instead.
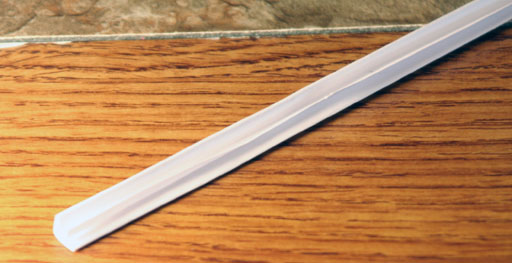
To see if you really got oxygen, you will try a standard test for oxygen. Normally, labs will use a wood splint, but we will use some paper.

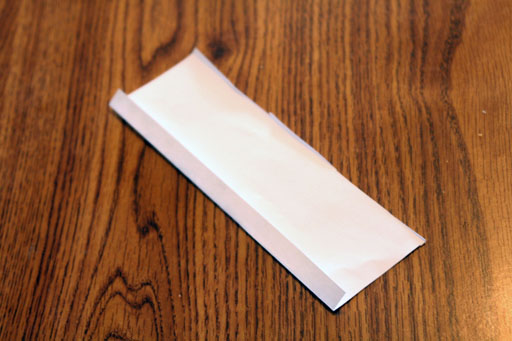
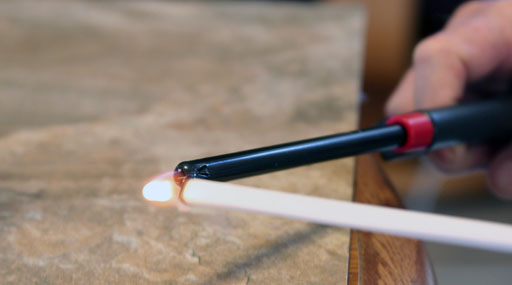
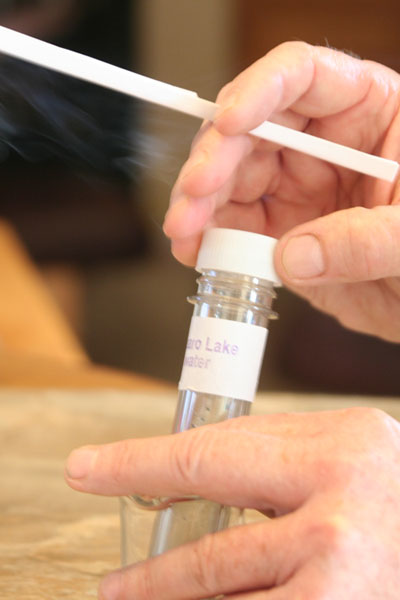
While the paper is still smoldering, take off the cap and then insert the smoldering paper into the test tube with the oxygen.
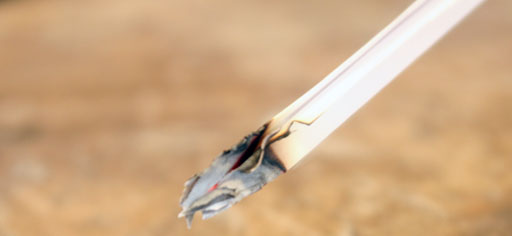
Look carefully and you should see the paper reignite into a flame for about a second before it starts making quite a bit of smoke and then go out.
Here the paper has reignited for a moment because of the concentrated oxygen in the test tube. It doesn't last long because the oxygen quickly gets consumed by the burning paper. However, it only needs a momentary flash to confirm that the test tube does in fact contain concentrated oxygen.
Air only has 20% oxygen, but gas in the tube is close to 100%. So combustion will be about 5 times faster. That's enough to get the smoldering paper (the embers) to get extra hot so that they ignite into a flame. The oxygen gets burned up very quickly, so you have to look close for any signs of some extra combustion.
a2) What reaction did you see when you inserted the smoldering paper into the test tube?
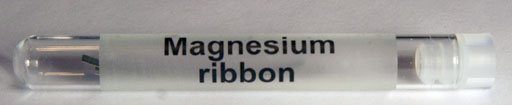
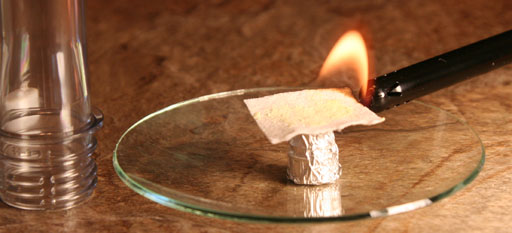
The usual way magnesium ribbon is converted to magnesium oxide is by lighting it with a Bunsen burner. Unfortunately, that is quite dangerous. Magnesium burns very hot and very bright. It also puts out a lot of ultraviolet light. So looking at it can damage the eyes. Also, magnesium can burn underwater, so putting it out with water may not work.
In the on-campus lab, you are told to look away while the magnesium burns. It's quite difficult not to look at something bright. Our brain is strongly attracted to bright and shiny objects.
We have come up with a safer way to burn magnesium to get magnesium oxide.
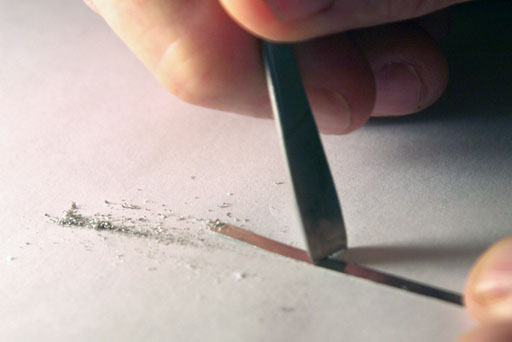
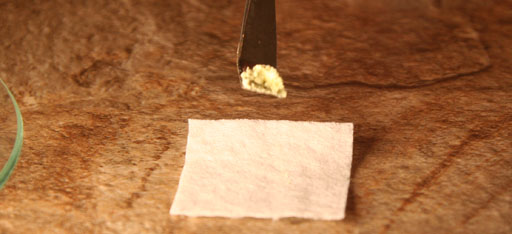
One way to make it safer is to use less magnesium. Place one of your strips of magnesium on a sheet of paper. Use your stainless steel microspatula to scrape the magnesium. This will give you some small shavings and pieces of magnesium. Get about the same quantity as shown in the photo.
Having small particles of magnesium also makes them easier to ignite. We found that it was hard to ignite the magnesium ribbon with the lighter that comes in the kit.
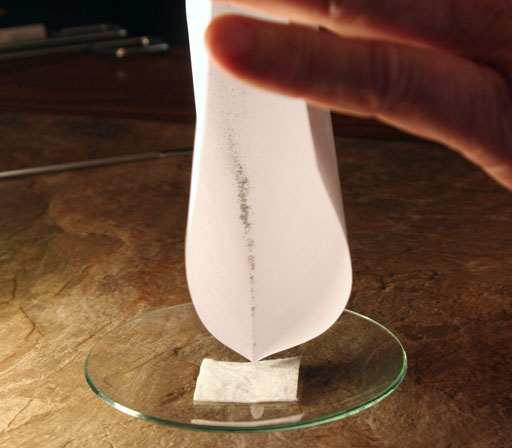
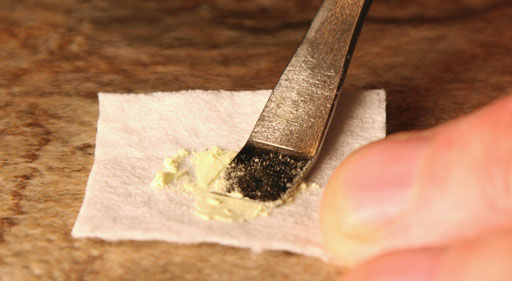
Cut about a one inch square from a paper towel or from some tissue paper. Transfer the magnesium scrapings to the one inch square piece of paper towel.
After you get the scrapings onto the paper towel, pull up the corners of the power towel and fold and twist it to make a small pouch holding the magnesium scrapings.

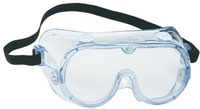 Now is a good time to put on your goggles. When something burns, especially something as aggressive as magnesium, you need to protect your eyes.
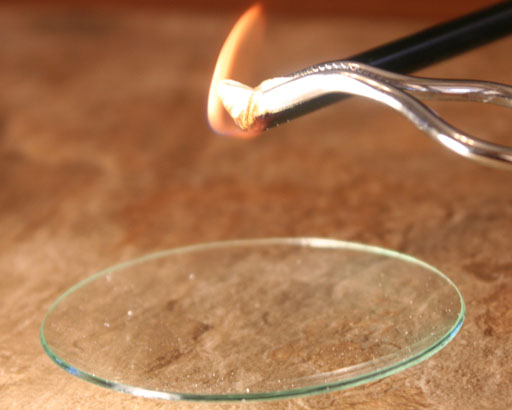
You also want to protect your fingers. Grab the small paper pouch with the metal tongs. Hold the pouch over the watch glass.
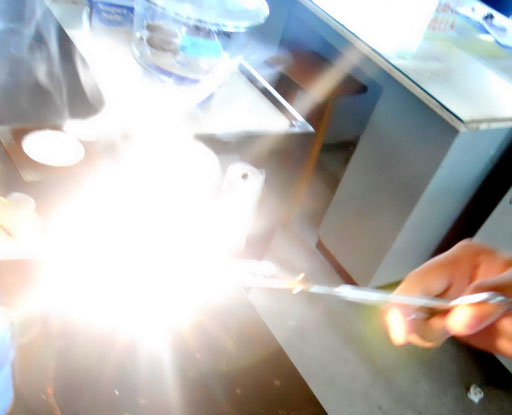
Light the paper pouch with the lighter from your kit. After the paper towel pouch starts to burn, you can set it on the watch glass. At some point you might see a flash of light. Those are the scrapings of magnesium burning. You can safely watch the burning of magnesium because there is so little magnesium and because the paper blocks much of the light. Also, because you have goggles on. After a flash of light, you may see small sparkles as pieces of magnesium burn.
b1) What did you see when the paper pouch with magnesium scrapings burned?
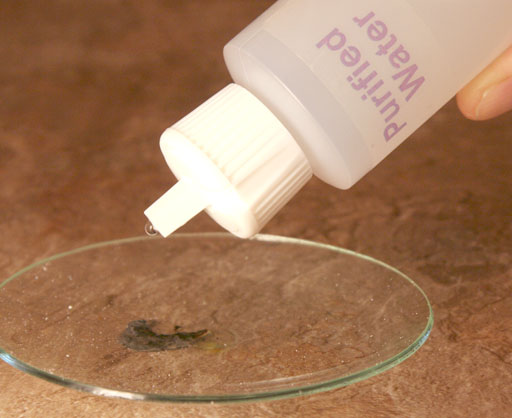
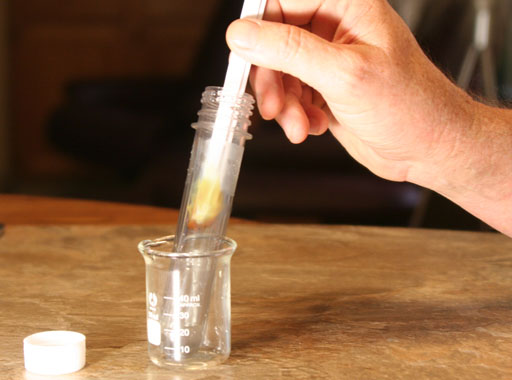
After the paper pouch of magnesium burns, there will be some ashes in the watch glass. Add a little water to these ashes. The water should dissolve the magnesium oxide that was created as the magnesium burned. Use the microspatula to stir the ashes to help dissolve the magnesium oxide.
 |
Remember, when magnesium oxide dissolves in water, it forms magnesium hydroxide. |
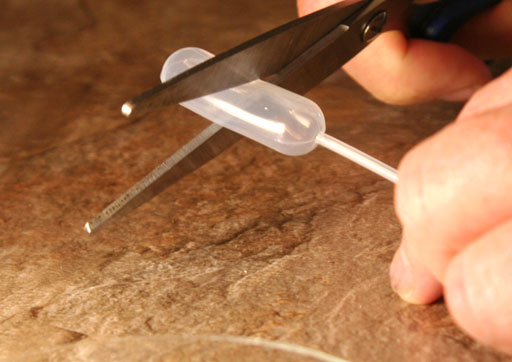
A regular sized funnel and filter paper is too large for this small amount of liquid. So you are going to make a mini-funnel using one of the plastic disposable pipettes in your kit. Cut off the top half of the bulb of the pipette.
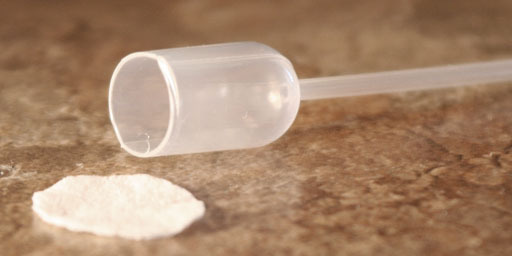
Now cut a piece of paper towel into a circle that is a little larger than the opening to mini-funnel. If we wanted better filter paper, we could cut out a small circular piece from the filter paper in the kit. However, a paper towel is fine here.
Push the small paper towel circle into the mini-funnel.
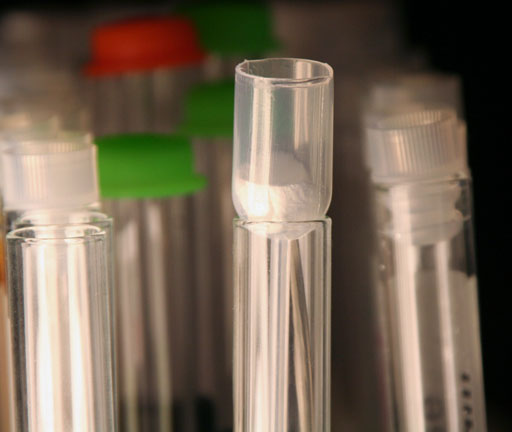
Set the mini-funnel/filter into a clean test tube. You will need to first cut about 3 inches off of the stem of the disposable pipette so that your mini-funnel will sit down on the lip of the test tube.
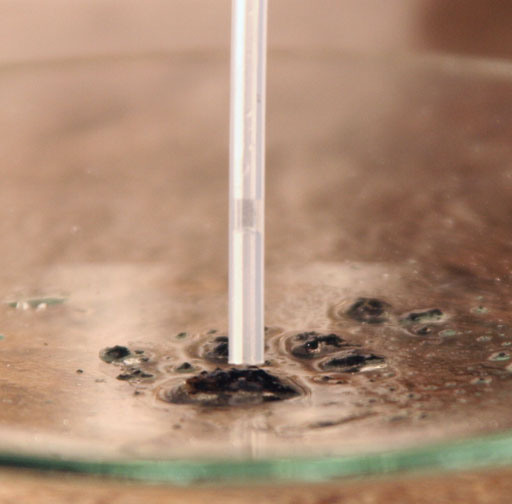
Place the water that is contaminated with ashes into the mini-funnel/filter.
Add a little more water to the ashes and mix the water with the ashes again to get some more of the dissolved magnesium oxide.
Transfer that water to the mini-funnel/filter.
The paper filter will block most (if not all) of the black particles of ashes. So the water at the bottom of the test tube will be fairly clear.
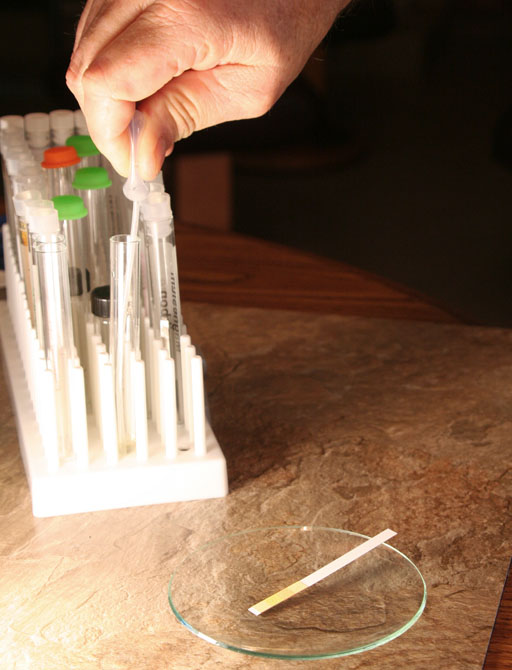
Clean off the ashes from the watch glass and set a pH strip on the watch glass.
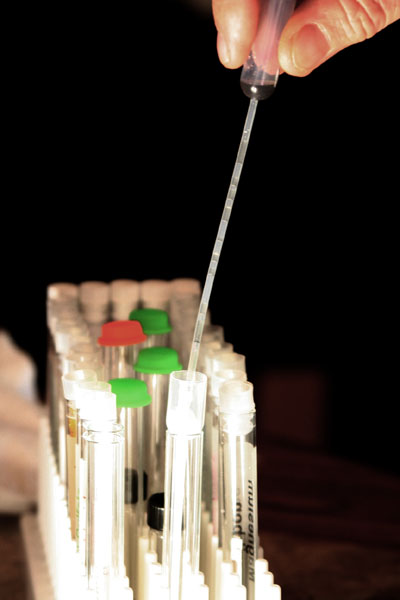
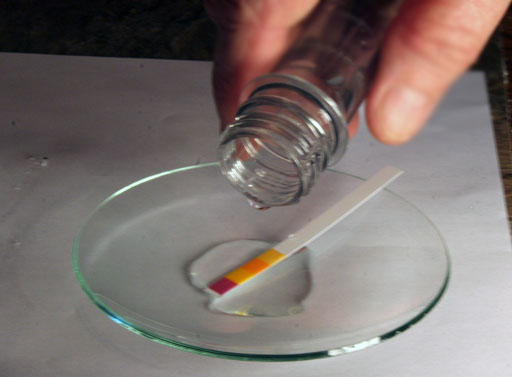
Take the mini-funnel/filter out of the test tube and use a disposable pipette to transfer the liquid that had passed through the mini-funnel/filter to the pH paper.
Instead of using another disposable pipette, you can simply pour the filtered liquid onto the pH test paper.
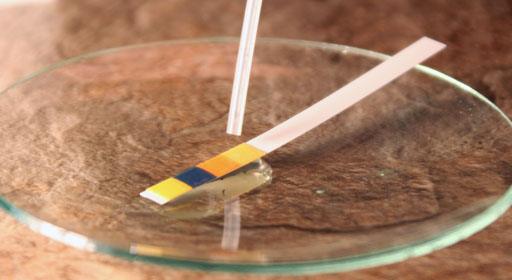
This is how the pH test strip reacted with the water from our ashes.
b2) Take a photo of what your pH paper looked like.
b3) Also, take a photo of yourself holding the your mini-funnel/filter.
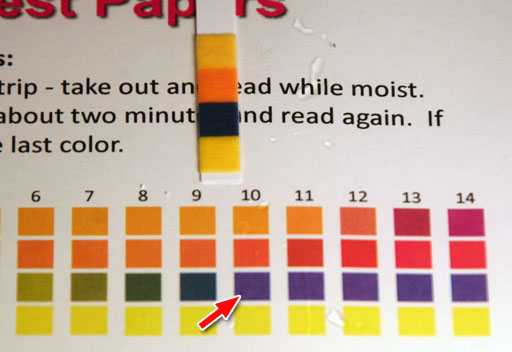
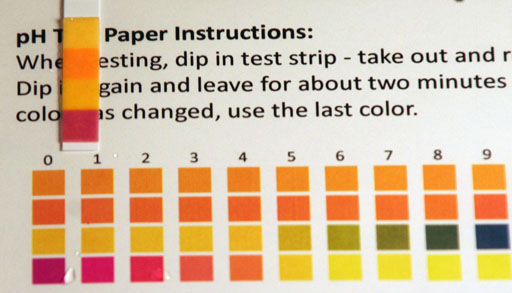
When our pH paper was compared to the colors on the color chart, we said it looked close to a pH of 10, but it could be 9 or 11. (Note: This color chart did not have the proper colors. The purple squares should be dark blue squares. Something happened to the laser printer that caused a color change, so your kit may have one of these color charts that have these purple squares instead of dark blue squares. At least all other colors on these faulty color charts are OK.)
A pH of 10 means there are 1000 times more hydroxide (OH-) ions in this water compared to pure water. So these OH- ions must have come from the magnesium oxide reacting with water. We tested the pH of ashes from the paper, and they were neutral. So the alkalinity (OH-) must be coming from the ignited magnesium particles.
MgO + H2O → Mg(OH)2
b4) What pH was your pH test strip?
MgO + H2O → Mg(OH)2
Again, the usefulness of this reaction is to create an alkaline solution that will neutralize acids. This reaction can also be followed by a reaction with carbon dioxide to create magnesium carbonate, which has many uses.
Mg(OH)2 + CO2 → MgCO3 + H2O
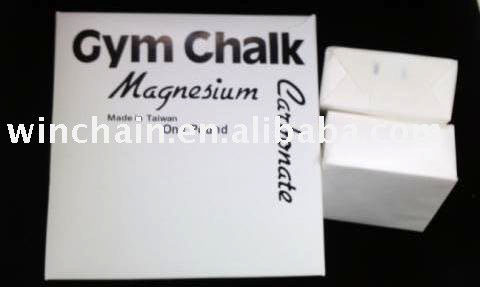
b5) The image says that magnesium carbonate is used for gym chalk (to keep hands dry). What are 3 other uses of magnesium carbonate?

In the seventeen hundreds, the element name "oxygen" was given by the father of modern chemistry, Antoine Lavoisier. He believed that all acids needed the element he called oxygen. "Oxy" meaning acid, and "gen" meaning to generate. He got that idea because when he burned solid phosphorus or solid sulfur using oxygen, the gases given off would be acidic when mixed with water.
Below are the combustion reactions of phosphorus and sulfur. Phosphorus forms tetraphosphorus decoxide (P4O10). Sulfur forms sulfur dioxide (SO2). In contact with water sulfur dioxide becomes sulfurous acid (Not sulfuric acid. That requires starting with sulfur trioxide.)
P4 + 5O2 → P4O10
S8 + 8O2 → 8SO2
When in contact with water, the below reactions happen:
P4O10 + 6H2O → 4H3PO4 This is phosphoric acid.
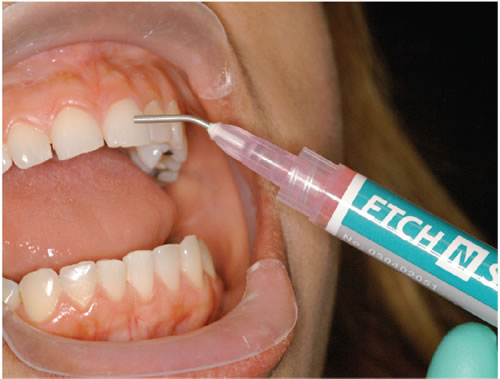
One use of phosphoric acid is to etch and clean teeth prior to adding fillings or other dental appliances to the teeth.
SO2 + H2O → H2SO3 This is sulfurous acid.
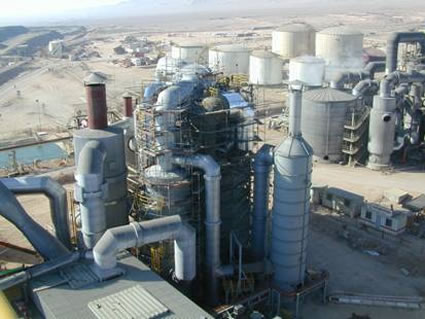
More sulfuric acid is made than any other chemical in the United States. Its main use is in the production of fertilizers. Earlier in the lab we discussed how sulfuric acid is made using an iron oxide catalyst. Actually the iron oxide is used to convert sulfuric dioxide into sulfur trioxide. At that point making sulfuric acid is easy. Just add water.
Sulfur is released in the conversion of ores into metals (called smelting). Sulfur is also in all crude oils and in coal. If those are burned, then sulfur dioxide is created. Companies usually trap the sulfur dioxide and convert it to sulfuric acid.
Other non-metal oxides that form acids are nitrogen dioxide and carbon dioxide.
3NO2 + H2O → 2HNO3 + NO (nitric acid + nitrogen monoxide)
CO2 + H2O → H2CO3
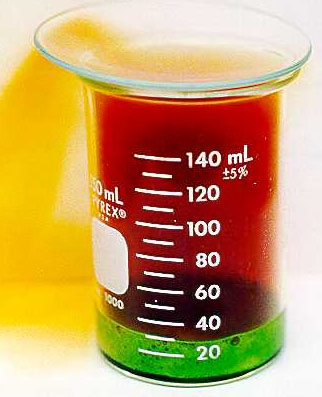
The image shows concentrated nitric acid dissolving copper. Green as you may remember from lab 6 is a color associated with copper compounds. According the below reaction that would be Cu(NO3)2 The reddish-orange gas is nitrogen dioxide (NO2).
Cu + HNO3 → Cu(NO3)2 + H2O + NO2
c1) What is the name for Cu(NO3)2?
In this lab, you will be making sulfurous acid from sulfur. But first you must burn sulfur to make sulfur dioxide.
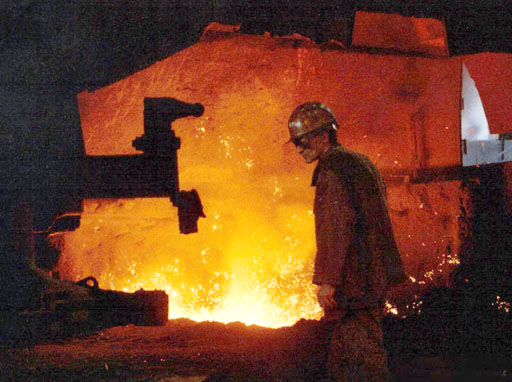
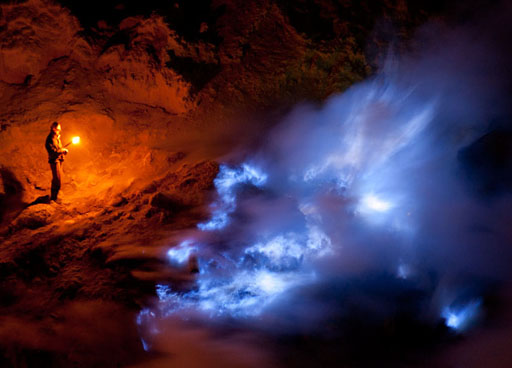
When sulfur burns, it burns with a blue flame. The photo shows a worker with a flare that has an orange flame near a volcano that is putting out molten sulfur. The sulfur is on fire which makes a blue flame. Unfortunately, the burning sulfur puts out a great deal of sulfur dioxide gas. When the gas gets into the miner's lungs, it turns into sulfurous acid. These miners that collect sulfur do not live too long.
Your kit has a few grams of sulfur, but we want to use as little as possible to be safe.
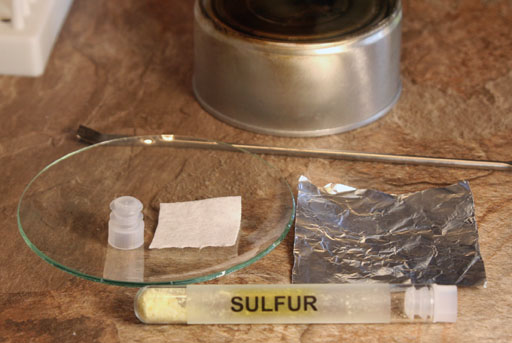
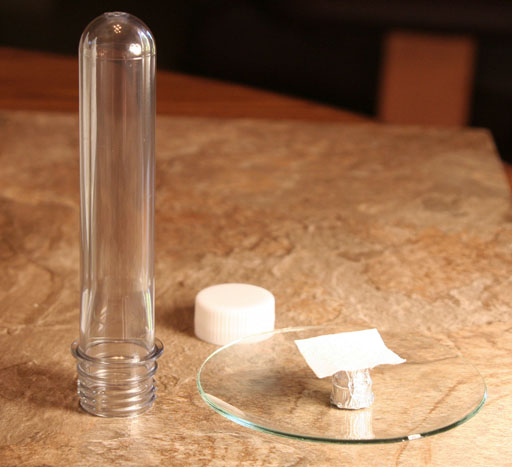
Here are some of the items you will use to see for yourself if a non-metal oxide like sulfur dioxide does make an acidic solution.
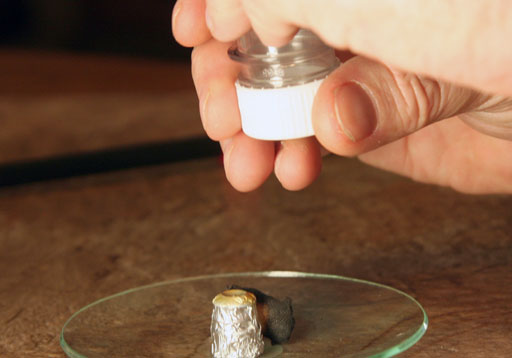
The metal can is the same one from Lab 2. You will need to cut a 1 inch square of a paper towel or tissue. The aluminum foil is in your kit or you use any aluminum foil. Take the cap off of one of the empty test tubes.
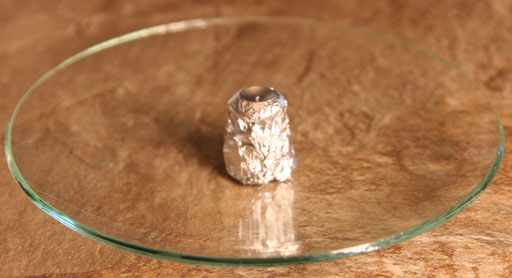
First wrap the plastic test tube cap in some foil. This is protect the cap when the sulfur burns.
Set the cap in the middle of the watch glass.
Remove just a little sulfur from the test tube using the microspatula. Place it on the 1 inch square piece of paper towel.
The amount of sulfur is about equal to two matches.
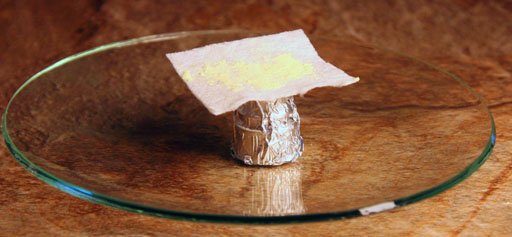
Set the piece of paper with the sulfur on top of the aluminum wrapped cap.
c2) Why are we asking you to put it on this cap rather than just setting the paper onto the watch glass?
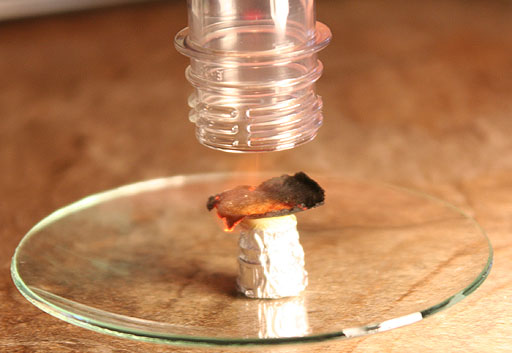
Set the large test tube all the way down onto the watch glass, and then grab the large test tube's cap.
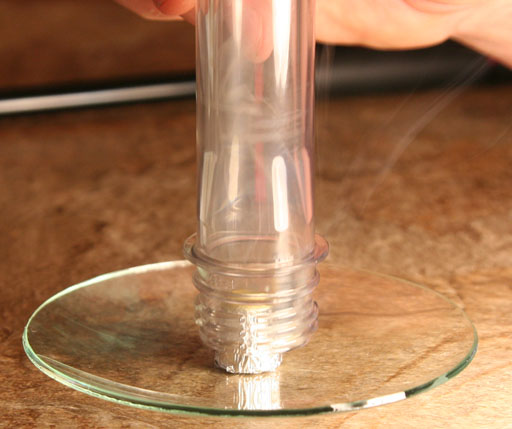
While those gases are still warm and lighter than the surrounding air, screw the cap back onto the large test tube.
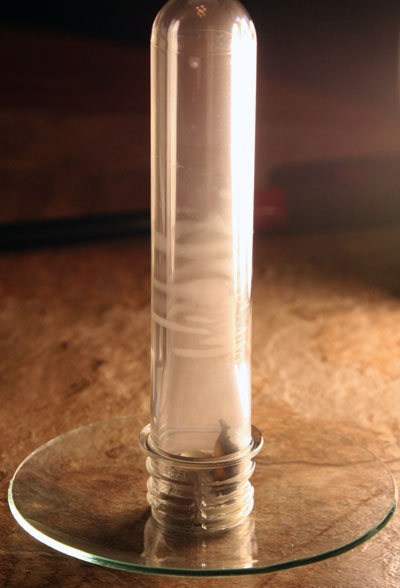
Shake the test tube for about 15 seconds so the water will contact the sulfur dioxide gas. At this point the sulfur dioxide gas should turn into sulfurous acid.
SO2 + H2O → H2SO3 This is sulfurous acid.
In water the sulfurous acid has disassociated into two hydrogen ions (the acid) and a sulfite ion.
H2SO3 → 2H+ + SO32-
This is the reaction we got when the water that dissolved the sulfur dioxide gas was placed on the 0-14 pH paper.
Don't throw away the water in the watch glass. You will be doing another test soon with is below.
Our pH paper looks like it matches a pH of 0, 1, or 2. pH 1 is the same as the 0.1 M HCl solution in the kit.
If you don't have pH test strips, another way to show the the burning of sulfur dioxide produced an acidic solution is to use a pH indicator solution.
c3) What pH does your pH test strip best match?
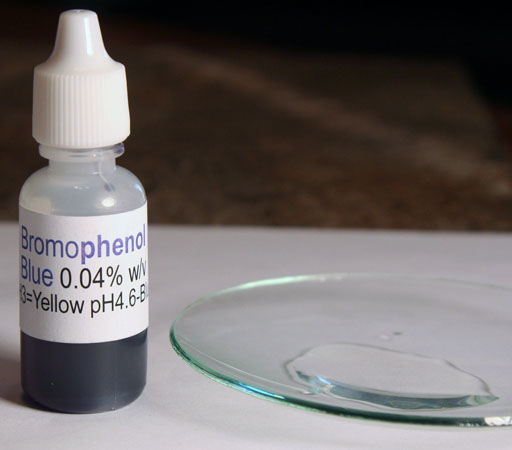
Locate the bottle named "Bromophenol". It says that pH 3 is yellow and pH 4.6 is blue. If the water from the test tube with the sulfur dioxide is more acidic than pH 3 (meaning a lower number than 3), then the indicator should be yellow.
Note: There is another bottled labeled "Bromothymol", but we don't want that one.
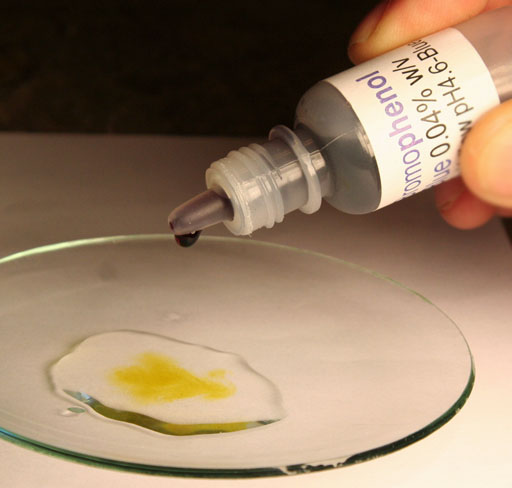
When bromophenol is placed in the water with sulfurous acid, it turned yellow. (Actually, the first drop looked purple until it was stirred a little.)
The yellow color from bromophenol indicates the water has a pH of 3 or less.
c4) Take a photo of the water after bromophenol was added.
If you wish, you can copy the below summary into your email (or Word document) and type your answers after the descriptions. The required photos can either be attached to the email or inserted in the Word document if going that route. Try to keep each image under 2 megabytes. If the first letter of your last name is between A and G, send your lab reports to Loree Cantrell-Briggs at Loree.Cantrell-Briggs@phoenixcollege.edu If the first letter of your last name is between H and Z, send your lab reports to Quinn Thacker at QRT2004@yahoo.com. Be sure to title the email "Lab 7".
Lab 7: Preparation of Oxygen, Properties of Oxygen, and Behavior of Oxides.
a. Lab 7 Experiment 1: Preparing pure oxygen from hydrogen peroxide
a1) Photo of your setup for preparing oxygen
a2) What reaction did you see when you inserted the smoldering paper into the test tube?
b. Lab 7 Experiment 2: Alkaline Solutions from Metal Oxides
b1) What did you see when the paper pouch with magnesium scrapings burned?
b2) Photo of your pH test strip after water with magnesium oxide was added.
b3) Photo of yourself holding your mini-funnel/filter.
b4) What pH was your pH test strip?
b5) The image says that magnesium carbonate is used for gym chalk (to keep hands dry). What are 3 other uses of magnesium carbonate?
c. Lab 7 Experiment 3: Acidic solutions from Non-metal Oxides
c1) What is the name for Cu(NO3)2?
c2) Why are we asking you to put it on this cap rather than just setting the paper onto the watch glass?
c3) What pH does your pH test strip best match?
c4) Photo of the water after bromophenol was added.